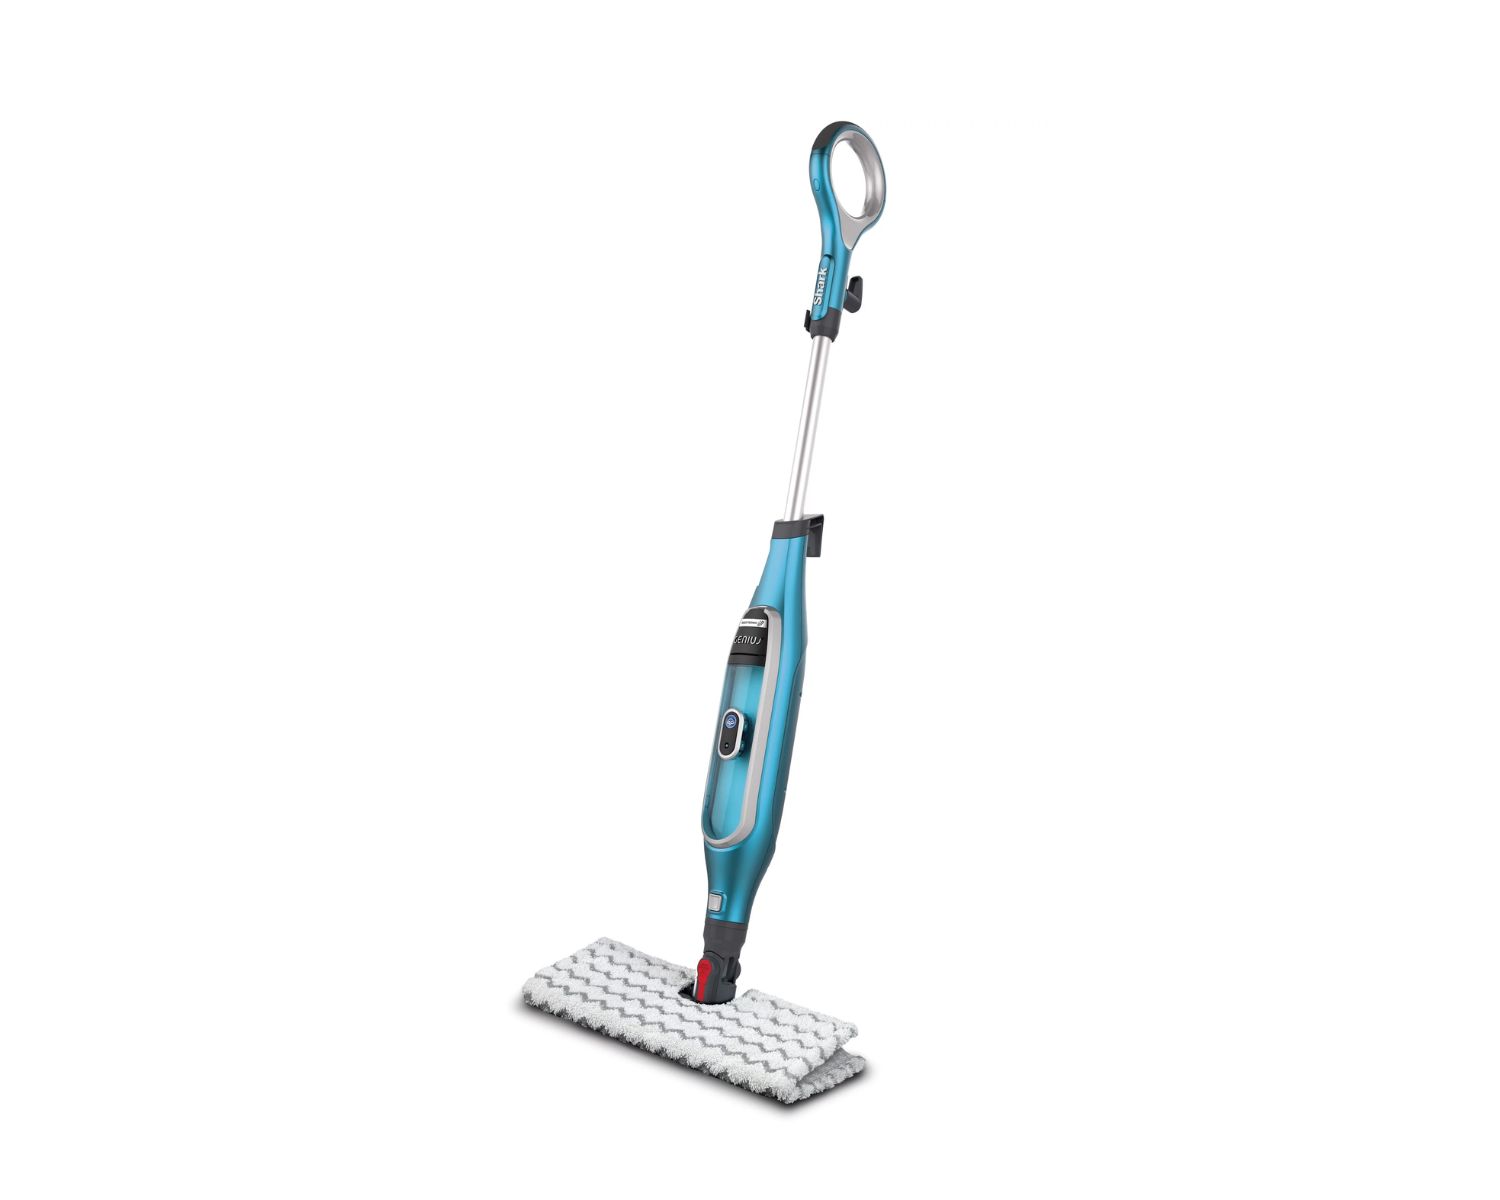
How To Open Shark Steam Mop . this article contains the owner's guide for the s7001 series steam & scrub mop. Before doing any disassembly on. to disassemble your shark steam mop, you need to start with removing the water tank and microfiber pad. to access the innermost components including the electronic valve and heating element, opening the mop body is required. to take apart a shark steam mop, first unplug the device and let it cool down. Before doing any disassembly on your shark. This will expose the control panel and more screws for further disassembly. Remove the water tank and detach the. this guide will start with opening the front panel. This supports the following skus s7001 and.
from storables.com
to access the innermost components including the electronic valve and heating element, opening the mop body is required. this article contains the owner's guide for the s7001 series steam & scrub mop. to disassemble your shark steam mop, you need to start with removing the water tank and microfiber pad. This will expose the control panel and more screws for further disassembly. Remove the water tank and detach the. to take apart a shark steam mop, first unplug the device and let it cool down. This supports the following skus s7001 and. Before doing any disassembly on. this guide will start with opening the front panel. Before doing any disassembly on your shark.
How To Use Shark Steam Pocket Mop Storables
How To Open Shark Steam Mop Before doing any disassembly on your shark. Before doing any disassembly on your shark. this article contains the owner's guide for the s7001 series steam & scrub mop. to take apart a shark steam mop, first unplug the device and let it cool down. This supports the following skus s7001 and. to access the innermost components including the electronic valve and heating element, opening the mop body is required. Remove the water tank and detach the. to disassemble your shark steam mop, you need to start with removing the water tank and microfiber pad. This will expose the control panel and more screws for further disassembly. Before doing any disassembly on. this guide will start with opening the front panel.
From www.pinterest.com
How to Use a Shark Steam Mop Shark steam mop, Steam mop, Cleaning hacks How To Open Shark Steam Mop to access the innermost components including the electronic valve and heating element, opening the mop body is required. Before doing any disassembly on. This supports the following skus s7001 and. this article contains the owner's guide for the s7001 series steam & scrub mop. this guide will start with opening the front panel. Remove the water tank. How To Open Shark Steam Mop.
From www.hunker.com
How to Use a Shark Steam Mop on Carpet Hunker How To Open Shark Steam Mop Remove the water tank and detach the. this guide will start with opening the front panel. This will expose the control panel and more screws for further disassembly. to disassemble your shark steam mop, you need to start with removing the water tank and microfiber pad. this article contains the owner's guide for the s7001 series steam. How To Open Shark Steam Mop.
From storables.com
How Does Shark Steam Mop Work Storables How To Open Shark Steam Mop This will expose the control panel and more screws for further disassembly. to access the innermost components including the electronic valve and heating element, opening the mop body is required. to take apart a shark steam mop, first unplug the device and let it cool down. Remove the water tank and detach the. this article contains the. How To Open Shark Steam Mop.
From storables.com
How To Remove Shark Steam Mop Handle Storables How To Open Shark Steam Mop Before doing any disassembly on your shark. this article contains the owner's guide for the s7001 series steam & scrub mop. to take apart a shark steam mop, first unplug the device and let it cool down. This supports the following skus s7001 and. Remove the water tank and detach the. to access the innermost components including. How To Open Shark Steam Mop.
From bestcleanertools.com
How to Open Shark Steam Mop Head? Best safe household cleaners How To Open Shark Steam Mop to access the innermost components including the electronic valve and heating element, opening the mop body is required. This will expose the control panel and more screws for further disassembly. this guide will start with opening the front panel. Before doing any disassembly on. this article contains the owner's guide for the s7001 series steam & scrub. How To Open Shark Steam Mop.
From bestviewsreviews.com
The Shark Steam Mop Ultimate Guide for Homeowners Bestviewsreviews How To Open Shark Steam Mop to take apart a shark steam mop, first unplug the device and let it cool down. Before doing any disassembly on. This supports the following skus s7001 and. to access the innermost components including the electronic valve and heating element, opening the mop body is required. to disassemble your shark steam mop, you need to start with. How To Open Shark Steam Mop.
From manualspage.com
Shark PRO STEAM POCKET MOP User Manual How To Open Shark Steam Mop Before doing any disassembly on your shark. to access the innermost components including the electronic valve and heating element, opening the mop body is required. this article contains the owner's guide for the s7001 series steam & scrub mop. Remove the water tank and detach the. This supports the following skus s7001 and. to disassemble your shark. How To Open Shark Steam Mop.
From www.wikihow.com
How to Use a Shark Steam Mop Assembly & Cleaning Tips How To Open Shark Steam Mop to access the innermost components including the electronic valve and heating element, opening the mop body is required. to take apart a shark steam mop, first unplug the device and let it cool down. Remove the water tank and detach the. this guide will start with opening the front panel. to disassemble your shark steam mop,. How To Open Shark Steam Mop.
From storables.com
How To Clean Shark Steam Mop With Vinegar Storables How To Open Shark Steam Mop This supports the following skus s7001 and. This will expose the control panel and more screws for further disassembly. this guide will start with opening the front panel. to take apart a shark steam mop, first unplug the device and let it cool down. Remove the water tank and detach the. this article contains the owner's guide. How To Open Shark Steam Mop.
From gudangnetwork.com
Shark S3101 Steam Mop Instructions How To Open Shark Steam Mop Before doing any disassembly on. This supports the following skus s7001 and. to take apart a shark steam mop, first unplug the device and let it cool down. to disassemble your shark steam mop, you need to start with removing the water tank and microfiber pad. this guide will start with opening the front panel. to. How To Open Shark Steam Mop.
From ohsospotless.com
How to Use a Shark Steam Mop The Correct Way How To Open Shark Steam Mop This will expose the control panel and more screws for further disassembly. Before doing any disassembly on. to take apart a shark steam mop, first unplug the device and let it cool down. to access the innermost components including the electronic valve and heating element, opening the mop body is required. this guide will start with opening. How To Open Shark Steam Mop.
From storables.com
How To Use A Shark Professional Steam Mop Storables How To Open Shark Steam Mop to disassemble your shark steam mop, you need to start with removing the water tank and microfiber pad. this article contains the owner's guide for the s7001 series steam & scrub mop. This supports the following skus s7001 and. Before doing any disassembly on. to access the innermost components including the electronic valve and heating element, opening. How To Open Shark Steam Mop.
From www.trustedreviews.com
Shark Steam Mop S1000 Review Basic cleaning for less How To Open Shark Steam Mop Before doing any disassembly on your shark. to take apart a shark steam mop, first unplug the device and let it cool down. This supports the following skus s7001 and. Remove the water tank and detach the. to access the innermost components including the electronic valve and heating element, opening the mop body is required. to disassemble. How To Open Shark Steam Mop.
From storables.com
What To Put In Shark Steam Mop Storables How To Open Shark Steam Mop to access the innermost components including the electronic valve and heating element, opening the mop body is required. to disassemble your shark steam mop, you need to start with removing the water tank and microfiber pad. This supports the following skus s7001 and. This will expose the control panel and more screws for further disassembly. this guide. How To Open Shark Steam Mop.
From usermanual.wiki
Shark Professional Steam Pocket Mop S3601Co Users Manual How To Open Shark Steam Mop Remove the water tank and detach the. This will expose the control panel and more screws for further disassembly. this article contains the owner's guide for the s7001 series steam & scrub mop. this guide will start with opening the front panel. This supports the following skus s7001 and. to access the innermost components including the electronic. How To Open Shark Steam Mop.
From www.trustedreviews.com
Shark Steam Mop S1000 Review Basic cleaning for less How To Open Shark Steam Mop Before doing any disassembly on your shark. to access the innermost components including the electronic valve and heating element, opening the mop body is required. to disassemble your shark steam mop, you need to start with removing the water tank and microfiber pad. this article contains the owner's guide for the s7001 series steam & scrub mop.. How To Open Shark Steam Mop.
From reviewed.usatoday.com
Shark Steam Mop review The pocket mop for hard floors Reviewed How To Open Shark Steam Mop to take apart a shark steam mop, first unplug the device and let it cool down. this guide will start with opening the front panel. This supports the following skus s7001 and. to access the innermost components including the electronic valve and heating element, opening the mop body is required. Before doing any disassembly on your shark.. How To Open Shark Steam Mop.
From storables.com
How To Use Shark Steam Pocket Mop Storables How To Open Shark Steam Mop Before doing any disassembly on your shark. Remove the water tank and detach the. this article contains the owner's guide for the s7001 series steam & scrub mop. to disassemble your shark steam mop, you need to start with removing the water tank and microfiber pad. Before doing any disassembly on. This will expose the control panel and. How To Open Shark Steam Mop.